Connect with Us to Discuss Your Project

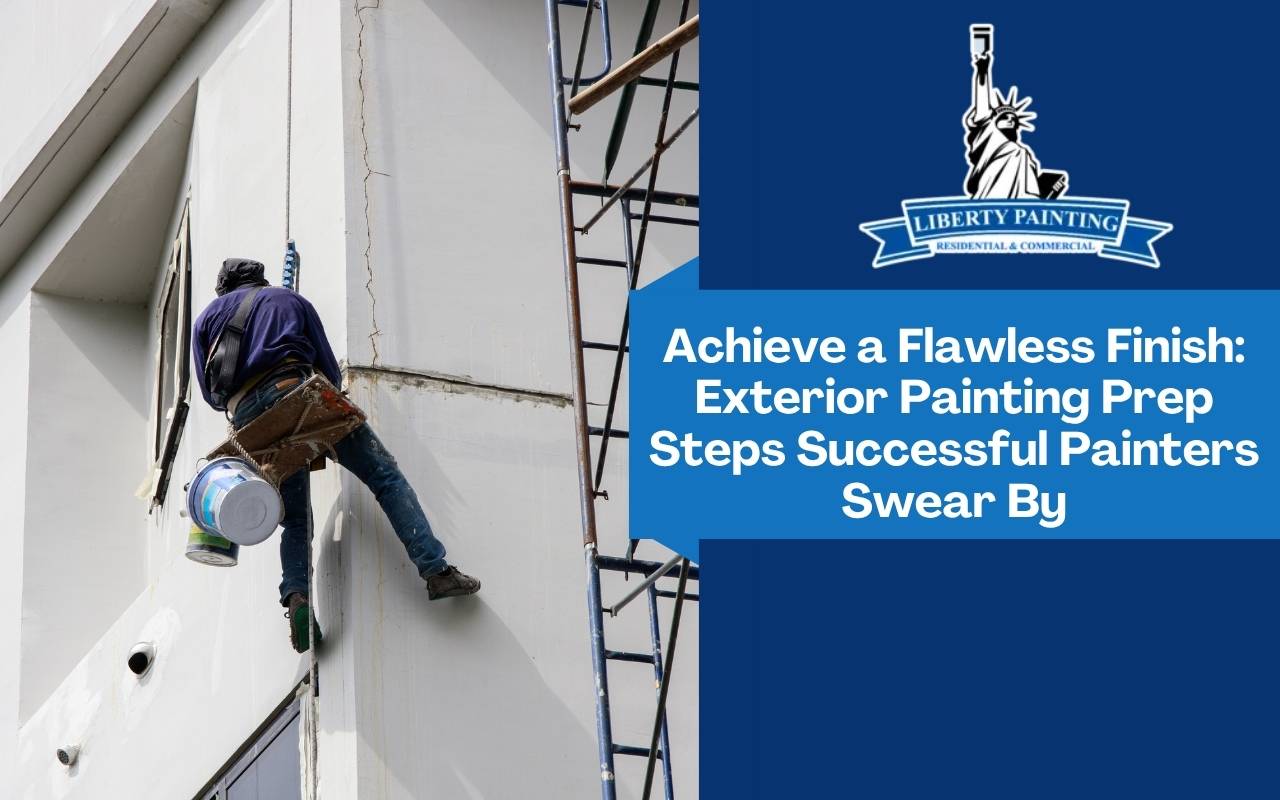
Achieve a Flawless Finish: Exterior Painting Prep Steps Successful Painters Swear By
A flawless finish on an exterior paint job can transform your home's appeal, yet achieving it requires more than adding color. It’s about creating a durable surface that can resist changing weather over time. That’s where proper exterior painting prep steps make all the difference. Skilled painters know that success lies not just in the paint choice but also in careful preparation before applying it. From cleaning and fixing surfaces to selecting UV-protective paint, each step helps achieve a professional, long-lasting result. Without solid groundwork, even vibrant hues may fade or crack. Considering weather, materials, and proven techniques ensures your efforts stand the test of time. This guide explores essential preparation strategies that experts rely on to deliver a flawless exterior. Whether you’re painting yourself or hiring professionals, understanding these steps helps you achieve a beautiful, enduring finish.
Importance of Proper Exterior Painting Preparation
Preparation is the foundation of a lasting paint job. Without following exterior painting prep steps, paint can peel or blister quickly. Proper surface cleaning, repairs, and priming increase the paint’s life and prevent costly do-overs. Investing in thorough prep work also improves appearance. A smooth, clean surface lets colors shine and ensures fade-resistant paints perform effectively. Good preparation allows even adhesion, giving your home a consistent and polished finish. Treating prep as a main step, not an afterthought, ensures a professional outcome that lasts for years.
Assessing Surface Condition and Material
Identify all exterior materials such as wood, brick, or metal.
Check for peeling paint, rot, or rust that requires repair.
Fix structural issues like loose boards or cracked stucco before painting.
Catalog each area needing sanding, caulking, or replacement.
Evaluating each section carefully avoids surprises and ensures all exterior painting prep steps work effectively. This attention to detail enhances the lifespan of your chosen fade-resistant paints.
Cleaning Surfaces Thoroughly for Paint Adherence
Clean surfaces allow paint to stick and stay beautiful. Dirt, mildew, or chalky residue can cause early peeling. Pressure washing or soft washing removes grime safely. For stubborn mold, use mild detergents or specialized cleaners. Let surfaces dry completely before priming or painting. Moisture under paint layers causes bubbles and poor adhesion. Once dry, wipe surfaces with a clean cloth to remove dust. A spotless surface helps UV-protective paint bond well, ensuring lasting results.
Repairing Damaged Areas before Painting
Fill small cracks or holes with exterior-grade caulk or putty.
Replace rotted wood or damaged trim sections as needed.
For masonry, use cementitious patching compound.
Brush away rust on metal and apply a metal primer.
Completing these repairs ensures your topcoat applies smoothly. Addressing damage early keeps the finish durable and professional, preventing future deterioration.
Choosing the Right Primer for Longevity
Primer is the link between surface and paint. Select the right primer for each material. Acrylic primer works well on wood, while bonding primer fits glossy or metal surfaces. For cedar or redwood, use a stain-blocking primer to avoid discoloration. A high-quality primer improves adhesion and ensures color consistency. It supports fade-resistant paints by giving them a stable base. Skipping primer can cause uneven results, so it’s worth the extra step.
Selecting High-Quality, UV-Protective Paint
Choose exterior paint that offers UV protection and strong fade resistance. These formulas defend against sunlight and weather damage. Acrylic-latex paints typically last longer and provide better coverage. Investing in quality paint reduces future maintenance. Look for products with mildew resistance and flexibility for changing climates. Using superior UV-protective paint ensures your home remains vibrant year after year.
Proper Techniques for Applying Exterior Paint
Keep a wet edge when brushing to avoid lap marks.
Use rollers with proper nap length for your siding texture.
Apply thin, even coats with enough drying time between layers.
Back-roll sprayed paint for consistent thickness.
Good technique ensures an even, professional look. Take care with edges around trim and windows for crisp, neat results. With the right approach, your exterior painting prep steps will truly pay off.
Weather Considerations for Optimal Painting Conditions
Weather conditions play a big role in paint success. The best temperatures for painting range from 50°F to 85°F with low humidity. High heat or moisture can cause peeling or bubbling. Avoid painting during rain or under direct sunlight. Mornings or late afternoons are often ideal times. Always check forecasts to ensure at least 24 hours of dry weather after finishing. Following these guidelines helps fade-resistant paints cure properly for maximum protection.
Frequently Asked Questions (FAQs)
How long should I wait after cleaning before painting?
Always let the exterior dry completely, usually 24 to 48 hours, depending on humidity and temperature.
Do I need to remove all old paint before repainting?
Only remove flaking or loose paint. Stable layers can stay if they’re well-adhered and cleaned properly.
Which primer works best for different materials?
Acrylic primers are great for wood, while bonding primers are ideal for glossy or metal surfaces.
Can I paint if rain is expected soon?
No, avoid painting if rain is forecast within 48 hours. Moisture ruins adhesion and finish quality.
What tools do I need for efficient exterior painting?
Use quality brushes, rollers, painter’s tape, ladders, and safety gear for smooth, professional results.
Maintaining Your Exterior Paint Finish
Maintenance keeps your investment looking new. Regularly inspect painted surfaces, especially near gutters and windows. Address cracks or chips immediately to prevent water intrusion. Wash your walls gently every few months to remove dirt and mildew. Trim nearby trees for better airflow and less debris buildup. Consistent care ensures your exterior painting prep steps continue to protect your home over time. Keep your home bright and beautiful season after season by maintaining your UV-protective paint finish.
Ready to refresh your home’s exterior?Learn more about our exterior painting servicesand see how professionals can help.
For homeowners near Washington DC,discover our local exterior painting expertisefor reliable and lasting results.
Key Takeaways for Achieving a Flawless Exterior Paint Finish
Exterior painting success depends on preparation. Follow each of the crucial exterior painting prep steps—cleaning, repairing, priming, and selecting quality paint—to achieve a stunning, durable finish. Always consider weather, apply with care, and maintain your surfaces regularly. Ready to start your next project?Contact our team todayand transform your home with lasting results.
At Liberty Painting, we have 15+ years of experience as a professional painting company, and you can count on us for residential & commercial projects. Let’s boost your home’s value!
Quick Links
Services
Contact
We are Licensed and Insured
Free Estimates Available
Residential and Commercial Services
